I ordered several of the laser die cuts on January 5th and they arrived Saturday. Seems they all took off for the holidays and when they got back one of their machines was not working. I did receive an email from them letting me know what was happening with my order.
Scrap Your Trip is an online supply place I have used for quite a number of my Post-It-Note holders. They send me notification of items that are out of stock, and then I get notification of when my order is shipped.
One little problem I’ve encountered is with the size of the items I ordered. There is not a size notation on the die cut items at their online store. The laser die cuts are quite intricate and come in many pieces. “Assembly Required” which is not a big deal to me. The problem is I don’t know what the dimensions of the entire piece is.

Assembly Required

Assembled laser die cut
These die cuts would be excellent on a scrapbook page. Either 8-1/2 x 11 or a 12 x 12. These are not working well on my Post-It-Notes 😦 They are too big.

Just a bit too big
I can make this die cut work by adhering it to a bit of chipboard, or a piece of a cereal box. I think I will have to do that with all of them.

Welcome to Las Vegas
Today I will be gluing and assembling these die cuts. Once they have been pressed and dried I will have to work out the backing for these. Can’t have them buckling and creasing before they get to their intended recipient.
While these pieces are being pressed and drying I have given myself a challenge. I am beginning to get an Inventory Book together of all the STUFF I have. Have you seen the videos of the organized books people are making?
Shelly, some months ago I told you I had found some sheets online for stamp sets. I could not remember where they were or even what site they were on. I found them yesterday. So I’m going to add some links in this post of where to find “Inventory Sheets” if anyone is so inclined to begin this crazy mess 😀
RUBBER STAMP INVENTORY SHEETS:
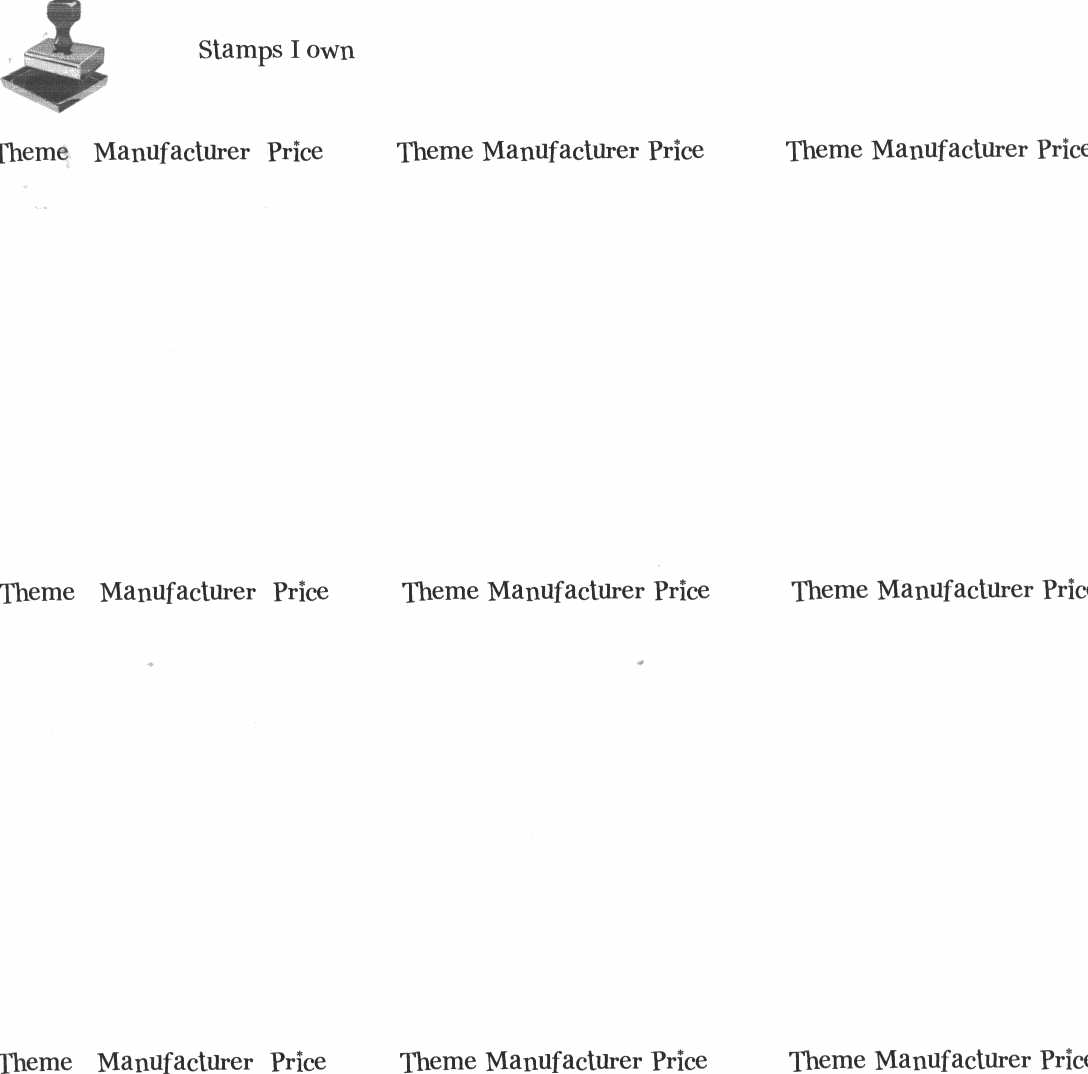
This site has not been updated in quite a long time but the rubber stamp form is still there. It is titled “Stamps I Own” . If your printer software has a way of making a Print File into a PDF you can save this to your computer. That way you won’t need to hunt for this link online. It took me about three hours to find this puppy. The full website link is Scrapbook Inventory Notebook. You might find some of the forms helpful to your organization.
Another place I found has separate pages for our individual groups of supplies. All in neat little boxes to pigeon hole your items.
INVENTORY SHEETS:
kathleendriggers.com has a blog post with her inventory sheets. They are all available in PDF form. I did not find sheets for rubber stamps on her site but she has created a TON of these sheets. Thank you Kathleen Driggers 😀
This morning I have been going through all of my punches. I have itty bitty ones I forget about.

Small punches
And I have quite a number of Stampin’ Up! punches along with an assortment of other companies….EK Success.

My larger punches
Using Kathleen Driggers forms I have adhered my meager supply of Border Punches.

Border Punch inventory sheet
I got through my other punches as well and adhered one to each square.

Punch inventory sheet
If you are thinking about getting to know what you have in your stash these two websites I’ve referred to are good places to start.
A word of caution. This is a HUGE time consuming endeavor. Punching out the images, gluing them to the spaces, then writing what they are and the manufacturer takes a bit of time.
Wondering WHY anyone would be so crazy to set themselves this task?
If you are planning on entering any of your creations to a craft magazine one of their requirements is to know ALL of the tools and supplies used to create your project. No matter if the tool or supply is no longer available on the market you will need to list all of the items you used.
This is also useful if you are one to list all the tools and supplies on your blog post below your beautiful photo of the project. The added bonus of doing this is to get reacquainted with the tools you have put “Out of Sight, Out of Mind” for quite a while.
I’ve also heard tell of people finding duplicates of items. As crafters we fall in love with one tool then put it away somewhere because we’ve gone on to something else. Then we need that once loved tool and can’t find where we stashed it so we go and purchase another one. Hence the duplicates.
It is time for me to get back in my room and clean up that mess of punches! What will I do next? I think I’ll tackle my Sizzix dies next.


Jan 24, 2012 @ 14:39:21
It’s so funny you’ve organized your punches – just last week I did the same thing! I was sick of not knowing what I had and kept using just a few over and over. Took me 3 hours. I didn’t know about the organizer sheets you used – I took index cards and punched all my punches. Using my computer and sheets of Avery address label stickers, I typed all the details about each punch, printed them, and then stuck them to their respective index cards. I used a hole puncher to punch a hole in the corner of each card, then put them all on a binder ring. It’s great! Now I can hold up an index card to a project I’m working on – an edge punch, for example – and see beforehand what it might look like and if it’ll look good. Love it!
Jan 24, 2012 @ 19:51:30
I have indexed all my stamps which I did the end of last year. I reorganised all the stamp categories and stamped images of each category onto good quality printer paper..one sheet I laminated to put all the stamps on and the other sheet was for putting into a folder – on each sheet I noted the name/manufacturer where I knew it and titled each sheet. Once the stamps were on the laminated sheet I put them into a pouched pocket ready to put into ring bind folders.
I purchased an small index book some time ago and have indexed all my ink pads – two pages per manufacturer and a small ink sample against the name of the ink. I shall do a similar system to Linda for my punches although I don’t have a huge selection and will create another similar system for my embossing folders and dies..again I don’t have many of those so it will be easy to do before I build up a collection! Even my cardstock is inventoried but not indexed; I bought several A4 (almost the same size as US 8.5 x 11) see through plastic boxes with lids and have white, cream and ivory cardstock in one box, plain coloured cardstock in another, then there is specialist printer paper; specialist papers such as acetate; pearlescent and glittery cardstock all in their own boxes and each box has labels at each end. They all stack one on top of the other and I can see at a glance what is in each box. Does make life easy!
Good luck with your inventory and hope you can work something out with your laser die cuts and the post it note holders.
Love and hugs
Lynn xx